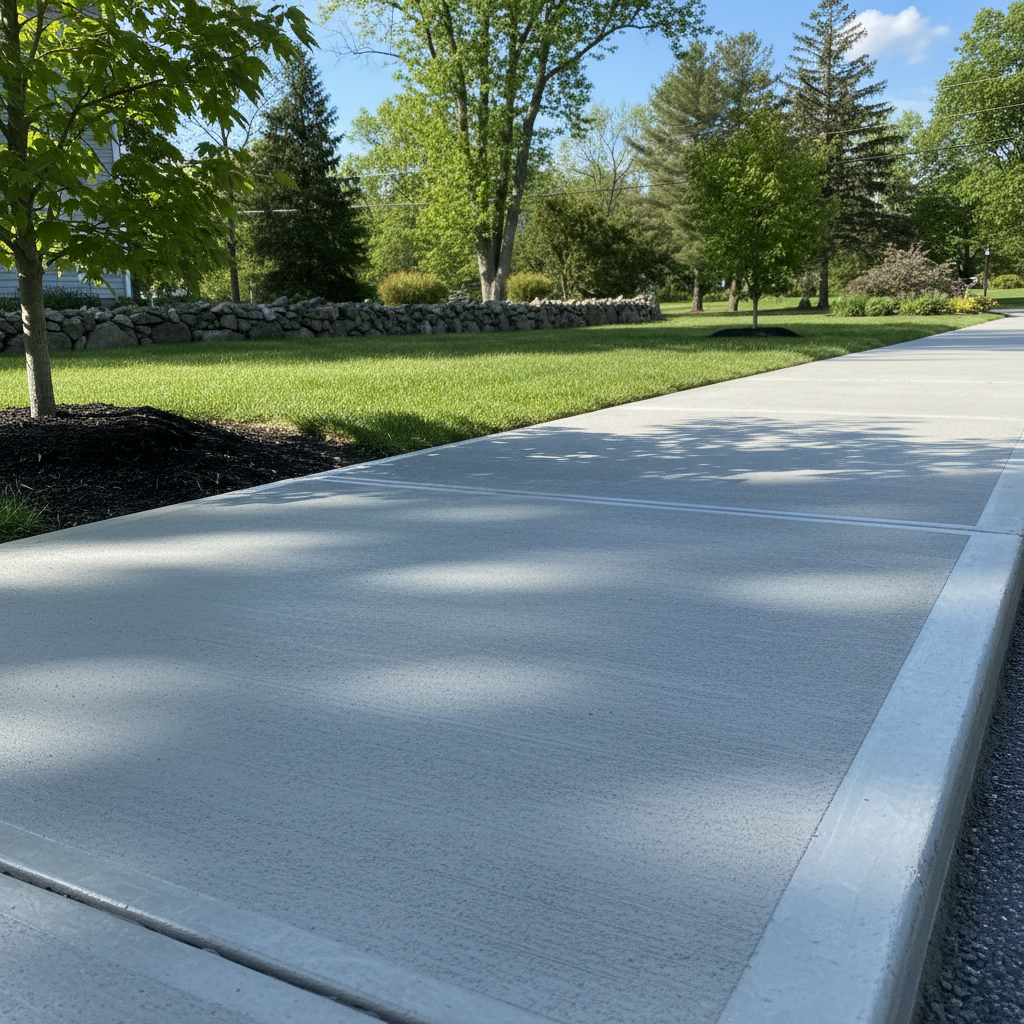
Alright, let's talk sidewalks. Maybe you've got a path from the driveway to the front door, or maybe a side yard connection, and it's definitely seen better days. Cracks, uneven spots, or perhaps it's just plain old asphalt or pavers that are shifting around. Concrete, you know, it's a really solid choice for a new sidewalk — no pun intended, honest. But before you grab a shovel and dive in, let's break down what you can realistically tackle yourself and when it's just smarter to bring in the pros.
Before You Start: Planning & Prep
First off, measure. Get a clear idea of the length and width you're aiming for. Then, think about the traffic it'll see. Is it just foot traffic, or will you be rolling a heavy trash can down it every single week? That really impacts how thick the slab needs to be. For most residential sidewalks, 4 inches is pretty standard. If you anticipate heavier loads, you might bump that up to 5 or even 6 inches, especially if it's near a driveway where vehicles might occasionally cross it.
Next, check for utilities. Seriously, this isn't something you can skip. Call Dig Safe (811) a few days before you plan to do any digging at all. They'll mark out gas lines, water pipes, electrical conduits, and communication cables. Believe me, you do not want to hit one of those. It's a headache you absolutely don't need.
Now for the fun part: excavation. This is where you can save some money if you're willing to put in the work. You need to dig out the area for your sidewalk. The goal is to get a uniform depth, typically 4 inches for the concrete itself plus another 4-6 inches for a gravel base. So, you're looking at digging down about 8-10 inches total. You want a firm, level subgrade underneath. If you've got some of that clay-heavy soil we often see in Needham, especially in older neighborhoods, make sure it's well-compacted. You certainly don't want your base shifting later on.
Drainage is huge, by the way. Make sure your sidewalk will slope slightly away from your house, about 1/8 inch per foot. This keeps water from pooling against your foundation, which is never good. You can use stakes and string lines to get your grades just right.
During the Project: Formwork & Pouring
Once your base is prepped and compacted, you'll need to set up forms. These are typically 2x4s or 2x6s (depending on how thick your slab will be) held in place with stakes. They define the edges of your sidewalk and, well, they keep the wet concrete where it belongs. Make sure they're straight, level (or sloped correctly, of course), and securely fastened. This is another area where a homeowner can definitely handle the work, especially if they're handy with a hammer and a level.
Here's the big question: DIY concrete mixing or a professional pour? For a small patch or a very short path, you *could* mix bags of concrete yourself. But for anything more than, say, a 4x4 pad, it's a ton of work, and it's incredibly hard to get a consistent mix and pour before it starts to set. Concrete, you see, doesn't wait around for anyone.
For a sidewalk of any real length, I strongly recommend calling in a professional. That's where Progressive Concrete Solutions comes in, actually. We've got the equipment to get the right mix delivered, and more importantly, the crew to pour, screed, float, and finish it properly and efficiently. Concrete finishing is both an art and a science; it takes real skill and speed to get a smooth, durable, and good-looking surface. You only get one shot at it before it hardens, after all. Trying to DIY a full sidewalk pour usually ends in a lumpy, uneven mess that you'll regret every single time you look at it.
We also know how to properly place expansion and control joints. Expansion joints go where the new concrete meets an existing structure (like your driveway or house foundation) or another slab. Control joints are cut into the slab to encourage any cracking to happen in a neat, controlled line, rather than randomly across your beautiful new path. These are critical for the longevity of your sidewalk, especially with our tough freeze-thaw cycles here in Massachusetts.
After the Pour: Curing & Care
Once the concrete is poured and finished, it needs to cure properly. This isn't just about letting it dry; it's actually a chemical process that strengthens the concrete. You want to keep it moist for at least 3-7 days, ideally longer. You can do this by misting it with water, covering it with plastic sheeting, or using a special curing compound. Don't walk on it for at least 24 hours, and keep heavy items or vehicles off it for at least a week — preferably longer for full strength.
In the long run, keep your concrete sidewalk clean. Sweep off leaves and dirt regularly. If you get oil or grease stains, tackle them quickly. For winter, use sand or a concrete-safe de-icer. Avoid rock salt or de-icers containing ammonium nitrate or ammonium sulfate; they can damage the concrete surface over time. Calcium chloride or magnesium chloride are generally safer options to use.
A well-installed and properly cared-for concrete sidewalk will last you decades. Do the prep work right, know when to call in the experts for the pour and finish, and then give it a little attention, and you'll have a great looking and functional path for years to come.