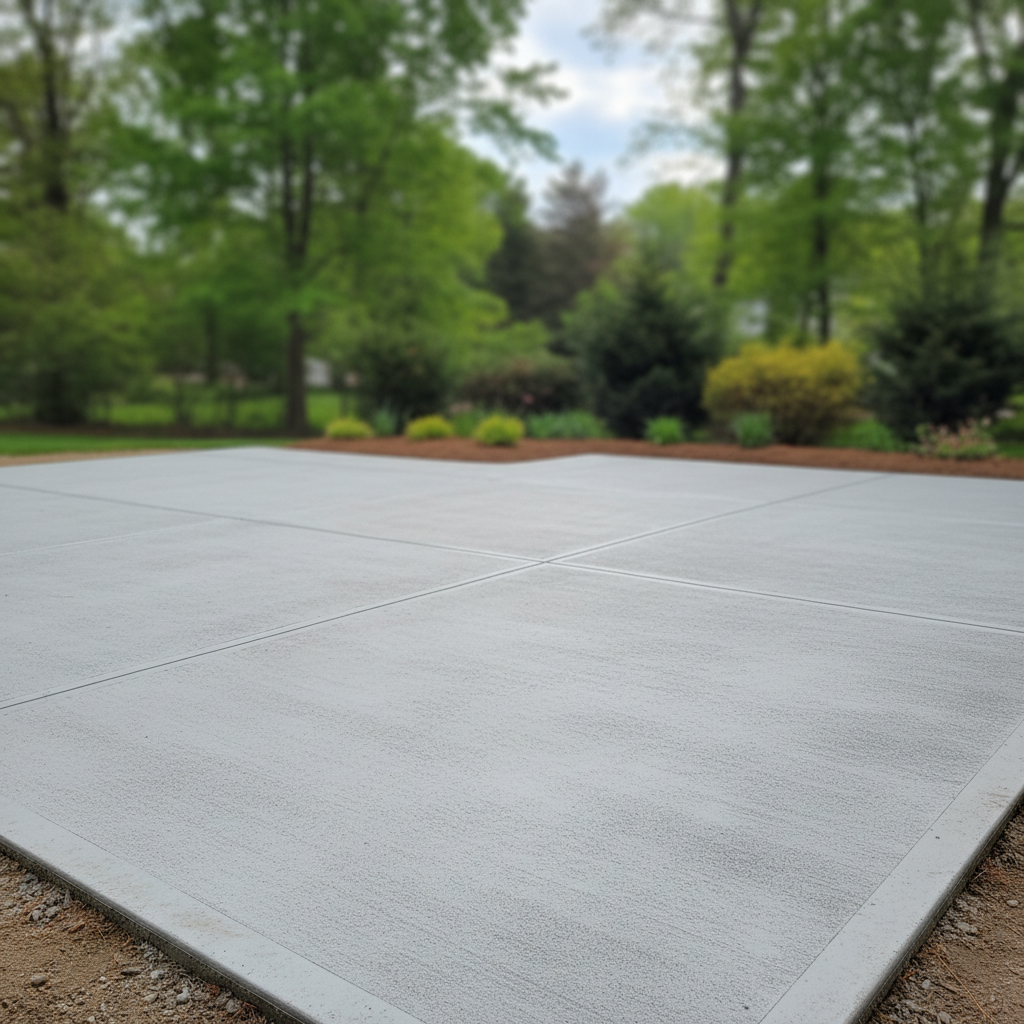
So, you're thinking about tackling a concrete project around your Needham home. Maybe it's a small pad for your new grill, a stepping stone path, or even just patching up a crack. That's great! There's a real satisfaction in doing things yourself. But here's the deal: concrete isn't just dirt and water. It's a precise science, and getting it wrong can be a real headache – and an expensive one to fix.
Before You Start: Planning & Prep
First things first, what are you actually building? A small, non-structural slab, like a garbage can pad or a small walkway, might be within a capable DIYer's reach. Anything larger, thicker, or that will bear significant weight – like a driveway, a foundation, or a patio that connects to your house – you really need to think twice. These projects require specific engineering, proper base preparation, and often rebar placement that's just too complex for most homeowners to get right without experience.
You'll need to consider permits. Even for a small slab, check with the Needham Building Department. You don't want to pour something only to find out you have to tear it out. Also, call Dig Safe (811) before you even think about putting a shovel in the ground. You definitely don't want to hit a gas line or an electrical conduit.
Next, the site. Is it level? What's the drainage like? Here in Needham, especially in areas with a lot of clay soil, proper drainage and a well-compacted base are absolutely critical. If water sits under your slab, or if the ground isn't stable, you're looking at cracks and settling in no time. For a small project, you'll need to excavate the area, typically 4-6 inches deep, and then add a few inches of compacted gravel base. Don't skip this step. It's the foundation of your foundation!
Formwork is another big one. You need sturdy forms that won't bow or break under the weight of wet concrete. Wood stakes and plywood or 2x4s work, but they need to be level, square, and securely braced. This isn't just about aesthetics; it's about making sure your finished product is the right thickness and shape.
During the Pour: Mixing & Placement
Okay, you've prepped everything. Now for the concrete itself. For small jobs, you might be thinking about bags of ready-mix concrete. This is feasible for a wheelbarrow-sized project. Follow the instructions on the bag precisely for water content. Too much water weakens the concrete significantly, making it prone to cracking. Too little, and it's impossible to work with. It needs to be a consistent, workable consistency – like thick oatmeal, not soup.
If you're doing anything bigger than a few bags, you'll need a mixer. You can rent small electric ones. But let's be honest, mixing concrete by hand or with a small mixer is incredibly labor-intensive. It's also a race against the clock. Concrete starts to set pretty quickly, especially on a warm, dry day. You need to get it in the forms, spread, and leveled fast.
Once it's in the forms, you need to 'strike off' or 'screed' it. This means using a straight edge (like a 2x4) to drag across the forms, removing excess concrete and bringing the surface to the correct level. Then comes floating, which pushes down the aggregate and brings the cement paste to the surface. After that, edging and jointing. Control joints are crucial to prevent random cracking. You'll need to cut these into the wet concrete at specific intervals. Miss this, and you're almost guaranteed to get ugly, uncontrolled cracks.
This is where most DIYers run into trouble. It's not just about pouring; it's about knowing when to do each step. The timing for floating, troweling, edging, and jointing is critical and depends on temperature, humidity, and the mix itself. Get it wrong, and you'll either tear up the surface or it'll be too hard to work.
After the Pour: Curing & Finishing
You've done the hard part, right? Not quite. Curing is just as important as the pour itself. Concrete doesn't 'dry'; it 'cures' through a chemical reaction with water. If it dries out too fast, it won't reach its full strength and will crack. You need to keep it moist for at least 3-7 days, ideally longer. This means covering it with plastic sheeting, damp burlap, or regularly misting it with water. Don't let it bake in the sun, especially during a hot New England summer.
Also, don't walk on it for at least 24 hours, and keep heavy objects or vehicles off it for at least a week, preferably longer. Full strength takes about 28 days.
When to Call a Pro
Look, I'm all for homeowners tackling projects. But concrete is one of those things where a small mistake can lead to a big, permanent problem. If your project is:
- Larger than, say, 4x4 feet
- Thicker than 4 inches
- Part of a structural element (like a foundation or load-bearing slab)
- A driveway or large patio
- Requiring specific finishes (stamped, colored, exposed aggregate)
- On uneven or problematic ground
Then you should absolutely call a professional. We've seen countless DIY jobs that start with good intentions but end up costing more to fix than if the homeowner had just hired us in the first place. We have the right equipment, the experience to handle the timing, and the knowledge of local conditions – like how our freeze-thaw cycles affect concrete – to get it right the first time.
At Progressive Concrete Solutions, we handle everything from small repair jobs to full-scale driveways and foundations. We know the ins and outs of working with concrete in Needham, and we can save you a lot of sweat, frustration, and potential future headaches. For those small, non-critical projects, go for it! But for anything significant, give us a call. It's often the smartest investment you can make.